Breathing new life into tired, worn-out floorboards is one of the most satisfying jobs in home renovation. Whether you're restoring the charming original timber in a Victorian terrace or upgrading tired pine boards in a modern flat, sanding, staining, and sealing floorboards can completely transform your space. In this guide by Build with A&E, we break down how to get professional-level results with simple DIY steps. Perfect for UK homeowners, DIY enthusiasts, professional tradespeople, designers, and anyone inspired to bring out the natural beauty in timber floors.
Why Restore Old Floorboards?
Original floorboards bring warmth, texture and character that’s hard to replicate with modern flooring. They add a sense of history and authenticity, whether in a cottage or a London townhouse. Many period homes across the UK hide beautiful floorboards beneath carpet or laminate—so reclaiming them can uncover hidden value and aesthetic appeal.
While installing new flooring can be expensive and time-consuming, sanding and refinishing old boards is often a more budget-friendly and sustainable alternative. Additionally, natural materials like timber age beautifully when properly cared for, meaning you’ll be investing in a floor that lasts for years to come.
Preserving and restoring old floorboards is also a great eco-conscious decision. Each board you save from landfill reduces demand on new timber sources and minimises the carbon footprint of your renovation. With the right techniques, tools and finishes, even decades-old floorboards can shine again.
Step 1: Preparation - What You Need Before You Start
Before diving into sanding, prepping your space and tools will save you time and effort. Start by removing all furniture, rugs, and fittings from the room. If you plan to keep skirting boards or door frames untouched, mask them off carefully using painter’s tape and dust sheets.
Inspect your floorboards for protruding nails (also called 'nail pops') or loose boards. Hammer down any raised nails using a nail punch, ensuring they sit below the surface. For any boards that creak excessively, screw them down securely to prevent movement later.
Make sure your floors are clean. Vacuum thoroughly to remove dirt, dust, staples and old carpet grip. Any debris left behind can clog sanders and lead to uneven sanding.
You’ll also need the right personal protective equipment (PPE). A dust mask or respirator is essential, along with safety goggles and ear protection. Floor sanding generates a surprising amount of dust and noise, especially when working with power sanders in enclosed spaces.
Equipment Checklist:
- Drum or belt floor sander
- Edge sander
- Dust mask or respirator
- Safety goggles and ear defenders
- Punch, hammer and screws
- Vacuum cleaner
- Wood filler (if required)
- Painter’s tape and protective sheeting
Step 2: Sanding the Floorboards
This is where the transformation begins. Start with a coarse grit (typically 24 or 36 grit) to remove the old finish, stains or uneven layers. A drum or belt sander is perfect for large, open areas, while an edge sander will reach up to the skirting boards.
Always sand in the direction of the wood grain to prevent scratches and gouges. Move the sander slowly and steadily—don’t let it sit in one spot, as this can damage the wood irreversibly. Overlap each pass slightly for an even finish across the boards.
After the initial coarse sanding, move through progressively finer grits: for example, 60 grit followed by 100 or even 120 grit. This smooths the surface and prepares it for staining and finishing. Between each grit, vacuum the dust thoroughly to help you keep track of progress and avoid clogging up sanding pads.
Don’t forget to include a final sanding with an orbital or finishing sander if you want an ultra-smooth result. For homes with pets or small children, a smoother surface will also be safer and easier to maintain.
Step 3: Filling Gaps and Cracks
Once your boards are sanded smooth, inspect the floor carefully for cracks, gaps and holes. Small gaps between boards are common in old properties and can be filled for better insulation, aesthetics and dustproofing.
You can use a commercial resin filler mixed with fine dust from sanding to create a custom-matched wood filler. This is particularly effective in hiding minor imperfections and ensuring the stain soaks evenly across the boards. For wider gaps, consider flexible gap-fillers like pine slivers or expandable caulk designed for timber movement.
Apply the filler with a putty knife, spreading it across the gaps. Allow it to dry thoroughly as per the manufacturer’s instructions—typically 1-2 hours. Once dried, lightly sand again with a fine grit to level the surface and remove any excess.
Step 4: Staining the Floorboards
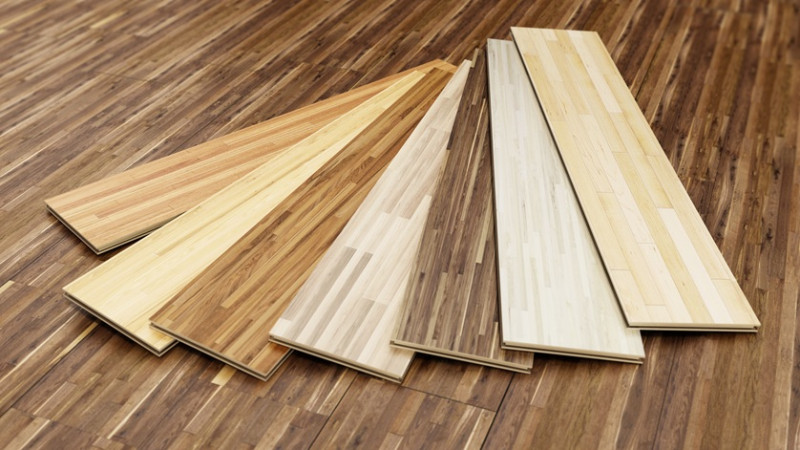
Staining is optional but provides a huge range of design possibilities—whether you want to deepen the natural tones of oak, replicate a dark walnut look or go for a Scandinavian whitewash. It’s important to test your chosen stain on a small, hidden area first as different woods absorb colour differently.
Use a lint-free cloth or foam applicator pad to apply the stain evenly, working in the direction of the grain. Avoid pooling or overlapping, which can create blotchy finishes. In busy rooms or areas with natural light, a consistent stain application will help avoid obvious transition lines.
Most stains require 24 hours of drying time before sealing. Check the manufacturer’s guidelines and avoid walking on the floors in this period to prevent footprints and smudges. Some popular UK brands for wood stain include Osmo, Ronseal and Fiddes.
| Wood Type | Recommended Stain Colour | Finish Tip |
|---|---|---|
| Pine | Mid Oak, Driftwood Grey | Apply wood conditioner before staining for even absorption |
| Oak | Dark Walnut, Antique Oak | Enhance grain with oil-based stain for depth |
| Beech | Natural, Light Ash | Sand thoroughly to even tone before applying stain |
Step 5: Sealing for Protection and Longevity
Sealing is crucial. It protects your floor from moisture, foot traffic, spills and UV fading. There are two main types of sealant: water-based and oil-based polyurethane. Water-based sealants are low smell, dry faster, and maintain a lighter appearance, while oil-based ones give a warm finish and are slightly more durable.
For UK homes with underfloor heating or frequent temperature changes, use sealers with a degree of flexibility to handle natural wood movement. Osmo Polyx-Oil and Bona Traffic HD are two excellent options trusted by professionals.
Apply using a synthetic brush or microfibre roller. Work in thin, even coats and don’t overwork the product, as this can lead to bubbling or streaking. Most products require two to three coats, with gentle sanding between layers for adhesion.
Allow each coat to dry fully before applying the next—generally 4-24 hours depending on the product and room temperature. Make sure you ventilate the room properly, especially in UK winters when it can take longer for finishes to cure fully.
Aftercare and Maintenance
Once your floors are fully sealed and cured (usually after 7 days), you can begin enjoying your beautifully restored wood floors. To extend their life and appearance, follow a few key maintenance practices.
Avoid walking on floors with high heels or dragging furniture, as these can cause dents or scratches. Use felt pads under furniture legs and consider area rugs in heavy traffic zones. Clean with a microfiber mop and use wood-safe cleaners—never soak your wood floors.
Reapply a top-up coat of sealer every few years, especially in busy areas like hallways or kitchens. With regular care, your rejuvenated floors can last for decades and continue adding natural charm to your home.
Ready to Transform Your Floors?
Restoring original floorboards is one of the most rewarding ways to add heritage charm and value to your home. With the right tools, preparation and techniques, you can achieve a finish that rivals that of the pros. Whether you're a seasoned DIYer or beginning your first renovation, sanding, staining and sealing floorboards is an achievable project that offers timeless results.
Got an older property or a renovation project in mind? Let Build with A&E be your guide. Subscribe to our newsletter or browse more articles for expert tips, tool recommendations and professional finishing advice—all tailored to UK homes and homeowners.
