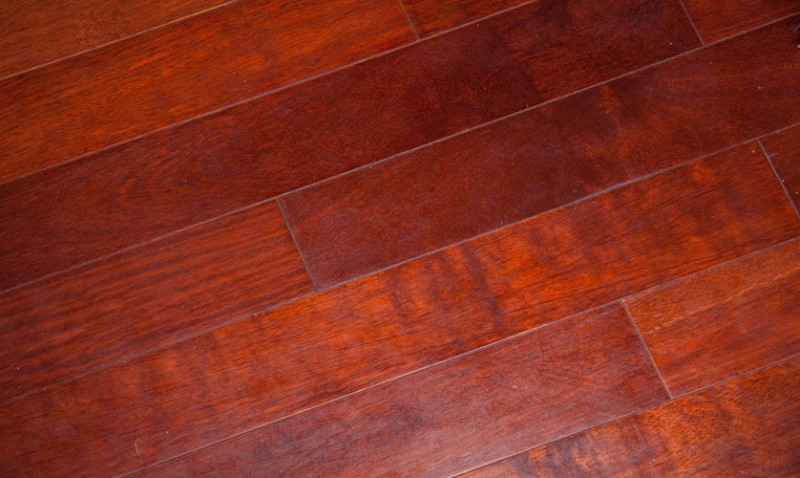
One of the most common issues in traditional and modern wooden flooring is unsightly gaps between the floorboards. Whether you're living in a charming Georgian terrace or a contemporary apartment with engineered wood floors, gaps can spoil the visual appeal and even cause draughts or creaky boards. But not to worry — fixing gaps in wood floors doesn't always require ripping up your entire floor or hiring an expensive contractor. This blog provides a simple 3-step solution that’s suitable for everyone — from DIY beginners and interior designers to seasoned tradespeople. All geared especially for UK homeowners looking to upgrade or restore their wooden floors.
Before diving into the steps, it's important to note that small seasonal gaps caused by humidity and temperature fluctuations are completely normal. However, larger or persistent gaps may be a sign of underlying issues — and that’s where this guide comes in handy.
Step 1: Identify the Cause of the Gaps
The first step in any floor restoration project is diagnosis. Not all gaps are created equal. Understanding whether your wooden floor is suffering due to environmental changes, installation errors, or natural wood shrinkage will determine the best repair method.
In older properties — such as Victorian or Edwardian homes — gaps in original floorboards are often due to decades of shrinking and expanding wood. These floorboards were typically installed without central heating in mind, so it’s not uncommon to see even quarter-inch-wide spaces between boards.
On the other hand, if you have modern engineered wood flooring or hardwood strip flooring, gaps could occur from poor installation or extreme moisture changes. For example, installing a wooden floor during a particularly dry summer and turning on the heating in winter might lead the planks to contract and open up spaces.
Check whether the gaps run throughout the room or are grouped in one area. Assess whether they're uniform or random, and take note of any movement when walking across the floor. These clues will help you choose the right repair technique and avoid future issues.
Step 2: Choose the Right Gap Filling Method
Once you’ve identified why the gaps appeared, it’s time to determine the right filling method. Let's look at the three most popular techniques used by professionals and savvy DIYers in the UK:
- Slivers or Wood Strips: Cut thin strips of similar wood and glue them into the gaps. Ideal for larger gaps over 3mm in traditional plank flooring.
- Wood Filler or Flexible Gap Filler: A premixed paste, great for small gaps under 3mm, especially in newer flooring or for cosmetic touch-ups.
- Rope or Jute Filler: Often used for heritage homes and listed properties, this reversible method provides a breathable, rustic look.
For most DIY homeowners, using a high-quality wood filler is the easiest and most accessible option. Available from UK retailers like Wickes, Screwfix, and B&Q, these fillers come in a range of wood tones to match your existing floor. Opt for flexible fillers if your floor tends to expand and contract with the seasons — they’re formulated to bend slightly without cracking.
For larger gaps, especially those in wider original pine boards, cutting your own wood slivers or buying pre-made ones online may be the most durable and visually appealing solution. These can be glued in place using wood glue and then sanded flush to match the existing surface.
Step 3: Sand, Finish & Protect
Once the filler has completely dried — which can take anywhere from a few hours to a day depending on the product — it’s time to sand the area to create a smooth and seamless finish. This step is particularly important when using wood slivers, as they will need to blend into the floor before staining or sealing.
Use a fine-grit sandpaper to even out the filled areas, paying attention not to over-sand and create depressions in the surrounding boards. For larger rooms, particularly in period properties, consider hiring a floor sander from your local tool hire shop to get a consistent result across the entire floor.
After sanding, apply a matching wood stain if needed, especially if the floor has a rich colour or patina. This helps to blend the filled gaps into the overall aesthetic of the floor. Once stained, protect your floor with a hard-wearing finish such as polyurethane, hard wax oil, or traditional floor varnish depending on your preference and the foot traffic in the room.
Here's a comparison table to help you choose your ideal wood finish method:
| Finish Type | Durability | Appearance | Best For | Reapplication |
|---|---|---|---|---|
| Polyurethane | High | Glossy to satin | High-traffic areas | 5-7 years |
| Hard Wax Oil | Medium-High | Natural matte | Living rooms, bedrooms | 2-4 years |
| Floor Varnish | Medium | Semi-gloss | Period restoration | 4-6 years |
Remember to ventilate the room during application and allow ample drying time before moving furniture back in or walking on the floor.
Final Thoughts
Fixing gaps in wood flooring doesn’t have to be an intimidating task. With careful assessment, the right materials, and a little bit of elbow grease, UK homeowners, landlords, and interior designers can revitalise tired-looking floors and improve both comfort and aesthetics.
Whether you’re preserving the character of your Victorian floorboards or fine-tuning a newly installed modern oak floor, this 3-step solution will put the polish back under your feet. As always, consider consulting with a flooring professional if your gaps are unusually wide, structural in nature, or accompanied by other issues like uneven boards or moisture damage.
Love this how-to guide? Follow us for more home improvement tips and practical restoration advice – we’ve got plenty more DIY wisdom where this came from!


