If you’re looking to transform your floors with a stylish, durable, and affordable option, luxury click vinyl flooring is one of the best choices out there. Known for its resilience, low maintenance, and authentic wood or stone look, it’s a popular flooring solution across the UK for homeowners, young professionals, interior designers, and trade professionals. Best of all, it's simple enough for a confident DIY enthusiast to install without professional help.
In this step-by-step guide, we'll walk you through everything you need to know to lay luxury click vinyl flooring like a pro. From preparation and tools to finishing touches, you'll gain the knowledge and confidence to complete your flooring project successfully.
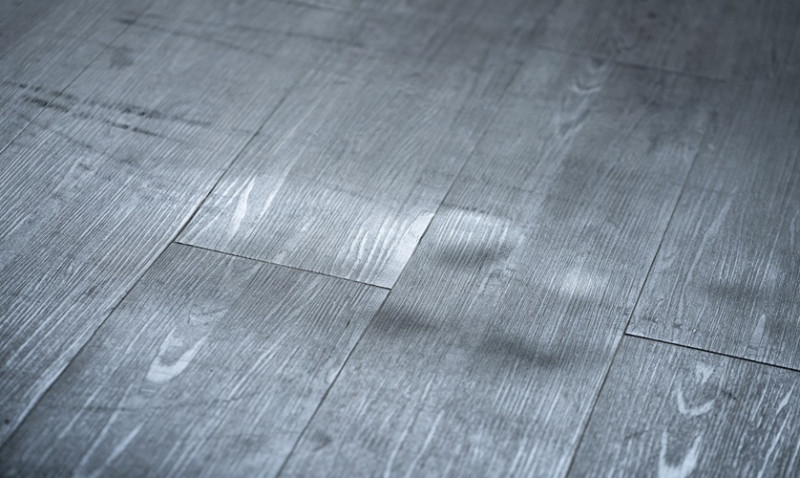
What Is Luxury Click Vinyl Flooring?
Luxury click vinyl flooring—also known as LVT (Luxury Vinyl Tile) with a click-lock mechanism—is a high-performance flooring solution that mimics natural materials like wood, stone, or ceramic, but with several modern advantages. Each plank or tile is designed with a tongue-and-groove system that clicks together effortlessly without the need for adhesives or nails.
This floating floor system sits above the subfloor (or an underlay) and is suitable for a wide range of spaces, including living rooms, kitchens, hallways, bedrooms, and even bathrooms due to its water-resistant properties. Many luxury click vinyl products also include a built-in underlay for added comfort and sound insulation.
Perfect for modern UK homes and renovations, this type of flooring lends itself well to both contemporary and traditional interiors. From busy professionals wanting a quick makeover to architects looking for client-ready finishes, it ticks all the boxes.
Tools and Materials You’ll Need
Before you get started, gather all the necessary tools and materials. Having everything ready will make the fitting process more efficient and stress-free.
| Tools | Materials |
|---|---|
| Measuring tape | Luxury click vinyl planks/tiles |
| Utility knife or vinyl cutter | Compatible underlay (if not attached) |
| Ruler or straight edge | Spacers |
| Rubber mallet | Scotia/beading or skirting board |
| Tapping block (optional) | Pencil and notepad |
| Jigsaw (for tricky cuts) | Door trimming tool (optional) |
Many toolkits specifically for laminate or vinyl flooring come with spacers and tapping blocks to make the job even easier. Always wear safety goggles and knee pads for protection and comfort while working.
Step 1: Prepare the Subfloor
The integrity of your flooring depends on a smooth, clean, and dry subfloor. Take time to prepare the surface before any installation begins. Whether you're applying your click vinyl over concrete, floorboards, or existing tiles, the subfloor must be level, free of debris, and dry.
Use a long spirit level to check for evenness. Any dips or humps over 2mm within a 1m span should be addressed with a self-levelling compound or sanding. Cracks in concrete should be filled, and loose floorboards nailed down securely.
If installing over a concrete floor, always test for moisture with a moisture metre. Excess moisture can cause vinyl planks to warp over time. Where necessary, a damp-proof membrane should be added.
A high-quality underlay may be necessary unless your flooring planks already include one. Underlay can add acoustic insulation, smooth out minor imperfections, and improve thermal comfort—especially crucial in UK homes prone to cooler climates.
Step 2: Plan Your Layout
Proper planning saves time and reduces waste. Begin by deciding in which direction you'd like the planks to run. Generally, running the planks in the direction of the longest wall or the main light source gives the room a more spacious look.
Measure the room's width to calculate how many planks you’ll need across the width. If the final row will be less than 50mm wide, it’s better to cut the first row narrower for balance. Aim for a staggered (brick-like) effect when laying each row—this strengthens the structure and looks more natural.
Lay out a dry row without clicking them together to visualise the spacings and check for awkward cuts around doorways or corners. Mark your measurements clearly so you can replicate them accurately during installation.
Step 3: Install the First Row
Always start from the left-hand corner of the room, working towards the right. Place spacers between the plank and the wall to leave a 5–10mm expansion gap—this allows room for the vinyl to expand and contract with changes in temperature and humidity.
Click the short ends of the planks together by inserting one at an angle, then pressing down. Some products may require a gentle tap with a rubber mallet and tapping block to ensure a tight fit.
If your wall isn't perfectly straight, you may need to scribe and cut the first row to match the contours. Keep checking alignment with a ruler or level to ensure the row is straight, as this will determine the success of the rest of the floor.
Step 4: Continue Laying the Planks
Once the first row is securely in place, begin the second row by clicking the long side into the previous row at a slight angle, then locking the short side to the neighbouring plank. Always stagger the joints by at least 150mm from the row before to avoid a repetitive pattern and increase strength.
Use offcuts from the previous row (as long as they’re longer than 200mm) to start new rows for minimal waste. For any awkward areas near door frames or radiator pipes, make careful measurements and use a jigsaw or handsaw to trim accurately.
Continue working row by row, maintaining consistent spacing along walls and removing any debris or dust that may interfere with the locks.
Step 5: Finishing Touches
Once the floor is completely laid, remove spacers and install scotia beading or skirting boards to cover the expansion gap. Avoid attaching these directly to the flooring—fix them to the wall instead so the floor can move freely beneath.
Reattach any doors you removed earlier and check that they swing freely over the new floor. If necessary, trim the bottoms to fit, taking care to protect the flooring.
Clean the floor with a soft broom or vacuum and a damp microfibre mop. Avoid using harsh chemicals or steam cleaners, which may damage the vinyl finish.
Tips for a Professional Finish
- Let your vinyl planks acclimatise in the room for 24–48 hours before installation.
- Use a knee kicker tool or pull bar for snug fits at the walls or in tight corners.
- Proper lighting can help spot misalignments or debris during fitting.
- Leave a full box unopened for future repairs or replacements.
- Store left-over planks horizontally flat to prevent warping.
Final Thoughts
Laying luxury click vinyl flooring is a highly rewarding DIY project with professional-looking results. Not only is it budget-friendly compared to hardwood or tile, but it also offers long-term performance and design flexibility tailored for UK home life.
By following the steps above and taking care with planning, preparation, and fitting, you can achieve a beautifully finished floor that stands up to daily wear-and-tear while enhancing your interior aesthetic. Whether you're redecorating your first home, upgrading a rental property, or installing flooring as part of a wider design project, LVT click flooring is a smart and stylish investment.
