Do you have wood floors that need to be refinished? Are you intimidated by the prospect of doing it yourself? Don't be! This guide will teach you everything you need to know about wood floor sanding. We'll go over the tools you'll need, the steps involved, and some tips for getting the best results. So get ready to roll up your sleeves and tackle that wood floor refinishing project.
The first step in wood floor sanding is to remove all the furniture from the room. Once that's done, you'll need to sweep and vacuum the floor to get rid of any dirt or debris. Next, you'll want to use a drum sander to remove the old finish and smooth out the wood. Be sure to go with the grain of the wood and keep the sander moving to avoid damage.
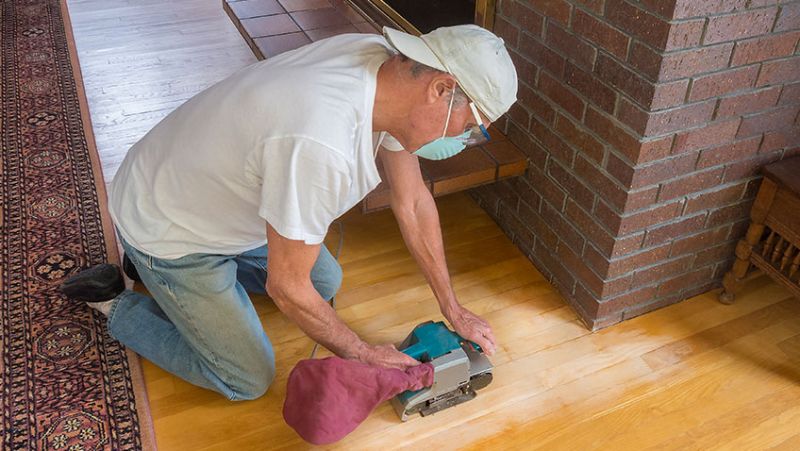
After you've sanded with the drum sander, you'll need to use an edging sander to get into those tight corners and edges. Once again, go with the grain of the wood and keep the sander moving. When it comes to wood floor sanding, there are a few things that you need to keep in mind. First of all, you need to make sure that you have the right tools for the job. This includes a good quality sander, as well as some replacement sandpaper. You'll also need a dust mask to protect your lungs from the wood dust, and some earplugs to protect your hearing.
Once you have all of your supplies, you need to make sure that you sand in the right direction. Always start with the coarse grit sandpaper and work your way up to the finer grits. Sanding in the wrong direction can damage your floors, so it's important to be careful. When you're finished sanding, you need to vacuum up all of the wood dust and then apply a new finish to your floors. This will protect them from wear and tear and make them look shiny and new. If you follow these steps, you'll have beautiful wood floors that will last for many years to come.
Now it's time for the fun part - staining your wood floors! You can choose any colour you like, but keep in mind that darker stains will show more dirt and require more upkeep. Once you've chosen your stain, apply it with a brush or roller and let it dry according to the manufacturer's instructions. The last step in wood floor sanding is to apply a clear finish. This will protect your floors and make them easier to clean. You can choose from a variety of finishes, but we recommend water-based polyurethane for its durability and ease of use. Apply the finish with a brush or roller and let it dry according to the manufacturer's instructions.
That's it! You've now successfully refinished your wood floors. Enjoy your beautiful new floors and the satisfaction of knowing you did it yourself! Now that you know the basics of wood floor sanding, why not put your new skills to the test? refinishing a wood floor is a great way to give your home a fresh, new look. It's also a great way to save money. So what are you waiting for? Get out there and start sanding!
If you found this guide helpful, be sure to check out our other DIY guides. We have everything from painting tips to plumbing advice. Whatever home improvement project you're tackling, we can help! And if you ever get stuck, don't hesitate to reach out to our team of experts. We're always happy to help.
