Hardwood floors are a timeless feature in many UK homes, loved for their natural beauty and durability. But even the best-kept floors are not immune to scratches. Whether it's from moving furniture, high heels, or energetic kids and pets, your floor can develop unsightly blemishes over time. The good news? You don’t need to fully sand and refinish your entire floor to get rid of scratches. In this guide, we’ll show you professional tips and DIY tricks to fix wood floor scratches quickly and easily—with minimal mess and cost.
Understanding Wood Floor Scratches
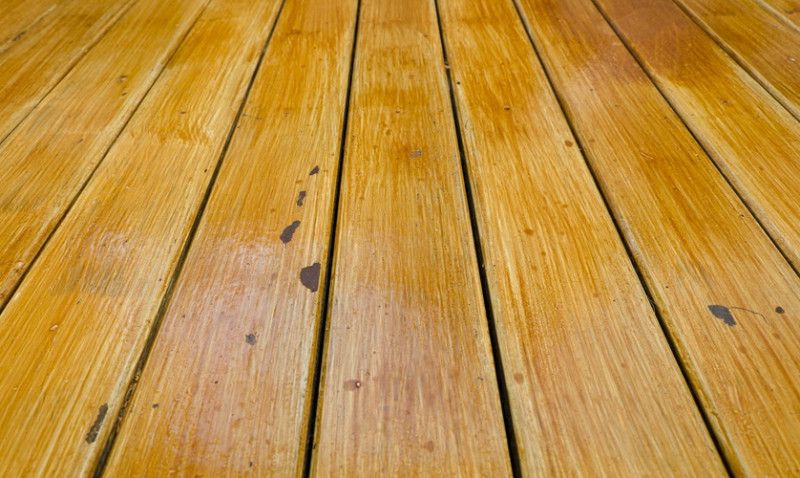
Before diving into the repair process, it’s important to understand the type of scratch you're dealing with. Not all scratches are the same, and identifying the depth and severity will help you choose the right solution. Most wood floor scratches fall into one of the following categories:
- Surface-level scratches – These affect only the finish or top coat of the floor and can often be fixed with minimal effort.
- Moderate scratches – These go deeper than the finish and may have affected the upper surface of the wood grain.
- Deep gouges – Typically caused by heavy objects or serious impacts, these scratches may require filling or a more extensive repair approach.
Knowing which category your scratch falls into will help you avoid unnecessary steps and ensure the best results for your repair project.
Quick DIY Methods to Fix Light Surface Scratches
For most UK homeowners and renters, light scratches are the most common—and they’re the easiest to fix without a full re-sand. Here are a few effective DIY solutions you can try using items already in your cleaning cupboard or easily available online:
1. Clean the Area First
Start by cleaning the scratched area thoroughly. Use a soft, damp cloth and a bit of wood floor cleaner. Ensure there’s no dirt, dust, or debris, which can worsen the scratch during repair. Always dry the area completely before proceeding to any repair method.
2. Use a Wood Floor Polish or Scratch Remover
Available at most hardware shops across the UK, wood floor polishes and scratch removers like Rejuvenate or Bona can hide surface blemishes effectively. Simply apply the product with a microfibre cloth as directed and buff gently.
3. Try a DIY Walnut Trick
This home remedy may sound strange, but rubbing a raw walnut kernel into hairline scratches can actually help fill them in naturally. The oils from the nut darken and nourish the exposed wood fibres, blending the scratch into the surrounding finish. It’s quick, chemical-free, and surprisingly effective on smaller scratches.
4. Opt for a Blending Marker or Wood Touch-Up Pen
These pens come in a variety of wood tones, allowing you to match your floor easily. Simply draw over the scratch using the marker and gently buff the area with a soft cloth. For homeowners looking for a quick weekday fix, this method can make a big difference with minimal effort.
Fixing Moderate Scratches with Wax or Filler
Moderate scratches that penetrate the finish but don’t significantly gouge the wood may require a slightly more involved repair. Here’s how to fix them without re-sanding your floors:
1. Use a Wax Repair Stick
Wax touch-up sticks are specially designed for hardwood floor repairs. Choose a colour that matches your flooring (or mix two tones for a custom shade). Soften the stick slightly and rub it into the scratch. Smooth the surface with a plastic scraper, and buff it with a soft cloth.
2. Apply a Wood Filler for Larger Scratches
Wood filler is ideal for scratches slightly deeper than surface-level but not considered full gouges. Select a pre-coloured filler that matches your floor shade or stain it after drying. Apply with a putty knife, allow it to dry fully, and lightly sand the immediate area with very fine-grit sandpaper (only the filled part—don't overspread). Finish with a matching wood stain or lacquer as needed.
3. Use a Floor Finish Restorer
For multiple light to moderate scratches across a wider floor area, products like Rust-Oleum’s Floor Restorer or Bona Floor Refresher can even out shine and hide minor imperfections. These create a uniform look without the need for professional sanding and polishing.
Dealing With Deep Gouges: Minimal-Invasive Fixes
If your wood floor has a deep gouge—often caused by dropping heavy furniture or long-term wear—there’s no need to panic. While these are more noticeable, they can still be addressed without complete refinishing.
The process starts similarly: clean the area well and assess the size of the gouge. Then, use a durable wood putty or epoxy-based filler. Here’s a step-by-step breakdown:
- Fill the gouge using a putty knife. Overfill slightly to account for shrinkage during drying.
- Let the putty cure fully, following product instructions (usually up to 24 hours).
- Gently sand only the repair spot with a fine sanding pad to smooth it into the floor level.
- Apply a matching stain if required, followed by a topcoat or polyurethane finish to seal the area.
This deeper repair method works well in high-traffic areas prone to regular wear and tear, such as hallways or entranceways. If you’re unsure about the exact shade match, try out the filler in an inconspicuous location first.
Tips to Prevent Future Scratches
Once your hardwood floor looks pristine again, keeping it that way is essential. Here are a few practical suggestions tailored for UK homes:
- Place felt pads under all furniture legs, especially chairs, tables and sofas.
- Use area rugs or runners in busy corridors and near entrances.
- Sweep or vacuum regularly to prevent grit and dirt from acting as abrasives.
- Try a "no-shoes" policy indoors to protect delicate finishes from outdoor debris and moisture.
- Trim your pets' nails regularly to reduce accidental floor damage.
Investing in a good quality wood floor cleaner that's UK-formulated for local climate differences—even humidity levels—can also help preserve the finish on your floors for the long term.
Conclusion: Beautiful Floors, Minus the Hassle
Fixing minor to moderate scratches in hardwood floors doesn’t need to be a major project. With the right tools and techniques, you can restore your floor’s appearance without re-sanding or calling in a tradesman. Whether you’re a DIY enthusiast doing weekend home improvements, a professional interior designer looking for fast touch-ups before a client install, or a homeowner looking to maintain value with minimum disruption, these scratch repair methods will serve you well.
Try one of the above fixes today and enjoy the renewed beauty of your hardwood floors—without the stress or the sanding!
