Updating a space with timeless elegance and lasting durability starts with the right choice of flooring. Shore Drift Oak Herringbone Flooring, a standout among engineered wood options, combines classic patterns with modern construction. Whether you're a DIY enthusiast taking on a weekend project, a professional interior designer, or someone reimagining your home layout, understanding how to properly install this engineered flooring is crucial to achieving stunning results.
This guide will cover everything from preparation and tools to installation techniques designed specifically for herringbone patterns. We’ll also share valuable tips to avoid common pitfalls, create seamless finishes, and maintain the beauty that Shore Drift Oak brings into any room. Let’s dive into mastering the art of installing this beautifully engineered floor.
Why Choose Shore Drift Oak Herringbone?
Shore Drift Oak Herringbone Flooring brings together the best of both worlds—pleasing aesthetics and practicality. With its unique grain, coastal tones and soft variations in colour, this flooring fits effortlessly into modern homes, heritage properties, and commercial spaces alike. The engineered wood construction, made from high-quality layered components, offers stability and resistance to seasonal movement—something solid wood often struggles with in the UK’s fluctuating climate.
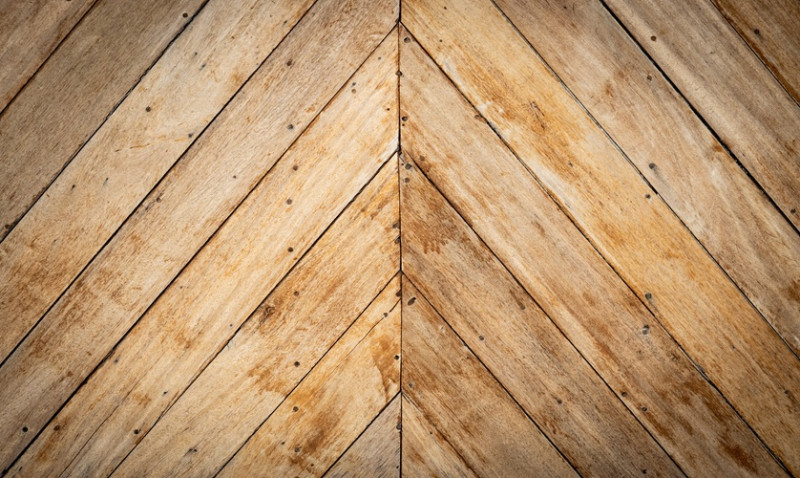
The herringbone pattern itself tells a story of sophistication. From Georgian manors to modern minimalist interiors, the timeless arrangement of zigzagging pieces creates a sense of structure and flow. Paired with the natural tones of Shore Drift Oak, the pattern provides a soft yet impactful focal point in any room.
Unlike traditional solid flooring, engineered wood is suitable for underfloor heating and installation over concrete subfloors. This opens up possibilities for stylish renovations in both old and new properties—especially important for the growing number of young professionals and couples investing in period homes or new builds across Britain.
Preparing for Installation
Before you cut your first board or mix your adhesive, proper planning and preparation is key to ensuring a professional result. Start by allowing the engineered wood planks to acclimatise in the room where they’ll be installed for at least 48–72 hours. Keep the room at a consistent temperature and humidity to mimic living conditions and prevent expansion or contraction after installation.
Next, assess the condition of your subfloor. Whether you’re laying Shore Drift Oak over concrete, timber, or a screeded base with underfloor heating, the surface must be clean, dry, and level. Any unevenness greater than 3mm over a 2m span should be corrected using a self-levelling compound. Moisture levels should be checked and must not exceed specific requirements (generally <2% CM for concrete).
If you're working over a wooden subfloor, secure any loose boards and eliminate squeaks. It's best to lay an underlay suitable for engineered wood, especially if you're opting for a floating installation method. For glued installation, ensure you’ve got the correct adhesive rated for engineered wood and the subfloor type you’re working with.
Gather all tools and supplies before starting. These typically include:
- Trowel for spreading adhesive
- Tapping block and pull bar
- Spirit level and chalk line
- Measuring tape and pencil
- Jigsaw or mitre saw
- Spacers for expansion gaps
Choosing the Right Installation Method
There are typically three installation methods used for engineered Herringbone flooring: glue-down, nail-down, and floating. For Shore Drift Oak Herringbone, glue-down is the most recommended technique. This method ensures stability and prevents shift in the intricate herringbone pattern over time, especially in high-traffic areas or rooms with varying humidity.
A glue-down installation involves spreading a layer of adhesive onto the subfloor with a notched trowel and securely pressing each plank into place. It works incredibly well with underfloor heating and helps to avoid movement in the boards which is critical for achieving the sharp aesthetic of a herringbone layout.
If you’re attempting this project as a DIY enthusiast, glue-down installations might be slightly more complex, particularly due to the need for precision. However, the effort pays off in both the visual appeal and the long-term performance of the flooring.
For less moisture-prone areas or second-floor installations where noise transfer is less of a concern, a floating floor with click-lock engineered herringbone products can be an alternative. Be sure to check if your chosen product supports click-lock mechanisms, as not all herringbone planks do.
How to Lay Herringbone Pattern Accurately
Laying Shore Drift Oak in a herringbone pattern requires an eye for symmetry and a steady hand. Begin by finding the centre of the room and snap two perpendicular chalk lines to form a cross, creating your reference starting point. This is where the 'spine' of your herringbone pattern will run.
Start from the middle and work outward to maintain balanced proportions. You may want to ‘dry lay’ several rows first to understand the positioning before applying adhesive or securing the planks. With herringbone, establishing the correct angle (typically 90 degrees between planks) is crucial—mistakes made in the early rows tend to multiply as you move along.
For Shore Drift Oak, planks are often pre-cut to exact lengths with tongues and grooves to fit together snugly. Make sure that each piece fits tightly to the next with minimal gaps. Use a tapping block gently to nudge pieces into place without damaging the wood.
Consider installing a border or frame around the herringbone area. This is not just aesthetically pleasing, but it also helps define the edges and hides potential cuts that are slightly imperfect near walls or doors. The border can either be a single line of plank running parallel to the walls or a feature strip in a contrasting colour for visual interest.
Installing Around Obstacles and Finishing Touches
No room is a perfect square. Expect to work around radiators, doorways, and built-in furniture. Use a jigsaw and precise tracing to cut accurately around these obstacles. It’s important to measure twice (or even thrice!) and cut once to avoid wastage of your planks.
Ensure you leave an expansion gap (typically 10–15mm) around the perimeter of the room. Wood naturally expands and contracts with temperature and humidity changes, even engineered layers. Use spacers to maintain consistency as you lay the floor, and cover this gap later using skirting boards or quadrant trims.
After all the planks are in place, allow the adhesive to cure for at least 24 hours before walking on the floor. Once cured, remove spacers and install skirting or beading to conceal expansion gaps. If you’re fitting Shore Drift Oak in an open-plan space, consider using threshold bars between rooms or sections to allow for seamless transitions.
Maintenance and Care for Long-Lasting Beauty
Once installed, your Shore Drift Oak flooring will offer years of enjoyment with minimal upkeep. To maintain its surface, regularly sweep or vacuum using a brush attachment to remove grit and dust that could scratch the top layer. For deeper cleans, use a wood floor cleaner formulated specifically for engineered floors—avoid saturating the floor with water or using steam mops.
Felt pads under furniture legs, mats at entrances, and maintaining indoor humidity levels between 40%–65% will go a long way in preserving your floor. If your floor has a UV-oiled finish, consider re-oiling it annually to maintain its water-resistant properties and subtle sheen.
For commercial projects or high-traffic homes, consider applying an additional protective coat post-installation if advised by the manufacturer. This reinforces durability and enhances the overall look, keeping it showroom standard for longer.
Conclusion: Bringing Timeless Craftsmanship to Life
Installing Shore Drift Oak Herringbone Flooring adds a sophisticated and timeless signature to your space. With precision planning, the right tools, and a careful approach to laying the herringbone pattern, even complex installations can be tackled by skilled DIYers, professional tradespeople, and designers alike.
Whether you're transforming your first home, reinventing a client's period townhouse, or creating a statement commercial interior, the natural hues and premium quality of Shore Drift Oak deliver warm tones and enduring style that’s built to last. With the right installation and maintenance, this engineered wood floor becomes more than just a surface—it becomes the foundation of something extraordinary.
